1. 이클립스 다운로드.
(* apt-get 으로 설치를 하였으나 오류가 생겨 그냥 소스를 다운로드 하였음)
위 사이트에서 클래식 버전을 받으면 됨.
2. 안드로이드 SDK 다운로드
~/.bashrc 화일을 열어서 자신이 SDK를 위치한 패스로 다음을 설정
export PATH=${PATH}:~/android-sdk-linux_86/tools
라인을 맨마지막에 추가하면 된다.
3. ADT (Android Development Tools) 설치
이클립스 실행 -> 메뉴 help -> install new software
https://dl-ssl.google.com/android/eclipse/
위 주소를 입력합니다.
만일 이런 오류가 난다면….
Cannot complete the install because one or more required items could not be found. Software being installed: Android Development Tools
http://download.eclipse.org/releases/galileo/ 에서
WST 패키지를 찾아 먼저 설치를 하고 진행 – WST Server Adapter 를 설치합니다.
WST 패키지를 찾아 먼저 설치를 하고 진행 – WST Server Adapter 를 설치합니다.
그 외의 에러가 발생한다면 http://blog.naver.com/arachi76/20097439894 참고
4. SDK Components 추가
안드로이드 SDK를 받았던 곳으로 이동하여 android 를 실행 시킨다.
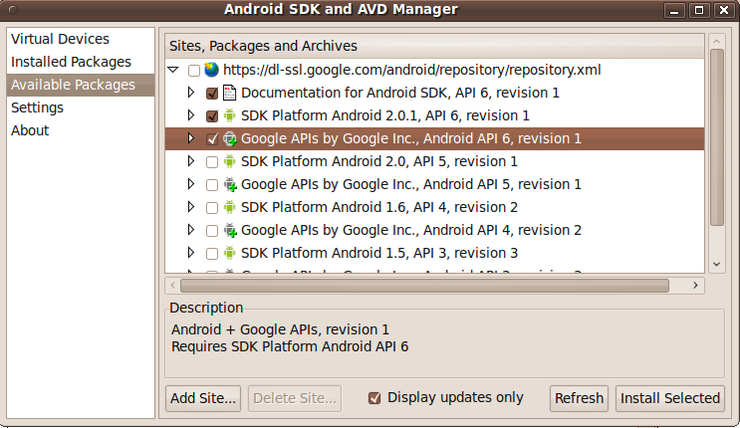
그럼 다음과 같은 화면을 볼 수 있다. 원하는 패키지를 선택하여 인스톨 한다.
만일 이런 오류가 난다면…
Failed to fetch URL https://dl-ssl.google.com/android/repository/repository.xml, reason: HTTPS SSL error. You might want to force download through HTTP in the settings.
왼쪽의 Settings에서 force https ~~ 를 체크하여 다시 수행한다.
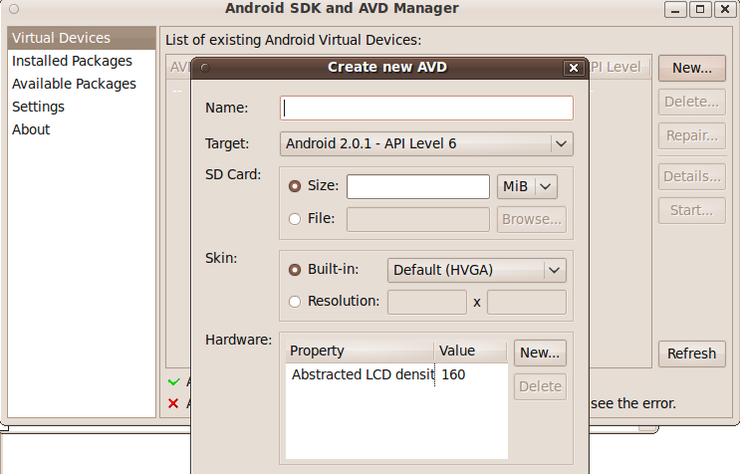
5. AVD (Android Virtual Devices) 생성
Virtual Devices 메뉴에서 다음과 같이 생성한다.
6. 프로젝트 생성
프로젝트는 new -> android -> android project로 생성하면 된다.
만일 다음과 같은 메시지가 나오면….
The of the Android SDK has not been setup. Please go Preferences > Android and set it up
메뉴의 Window > Preference > 탭으로 가서
설치한 SDK 위치를 지정해준다. (andriod-sdk 까지 지정해주면 된다.
설치한 SDK 위치를 지정해준다. (andriod-sdk 까지 지정해주면 된다.