작업 디렉토리 생성
$ mkdir example
프론트엔드와 백엔드 작업을 하게 될 작업디렉토리를 생성한다.
Frontend 작업디렉토리 생성 및 front 서버 실행
$ npm install -g yarn
$ npm install -g @vue/cli
$ vue create frontend
$ cd frontend
$ npm run serve
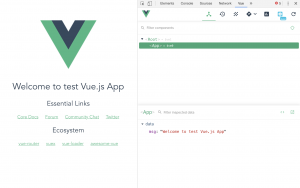
npm 명령으로 vue.js 개발을 위해 필요한 패키지를 설치한다. 그리고 vue create 명령을 이용해 frontend 디렉토리를 생성하고 새로 생성된 frontend 프로젝트 디렉토리에서 서버를 실행하고 브라우저에서 http://localhost:8080에 접속하면 다음과 같은 페이지를 확인할 수 있다.
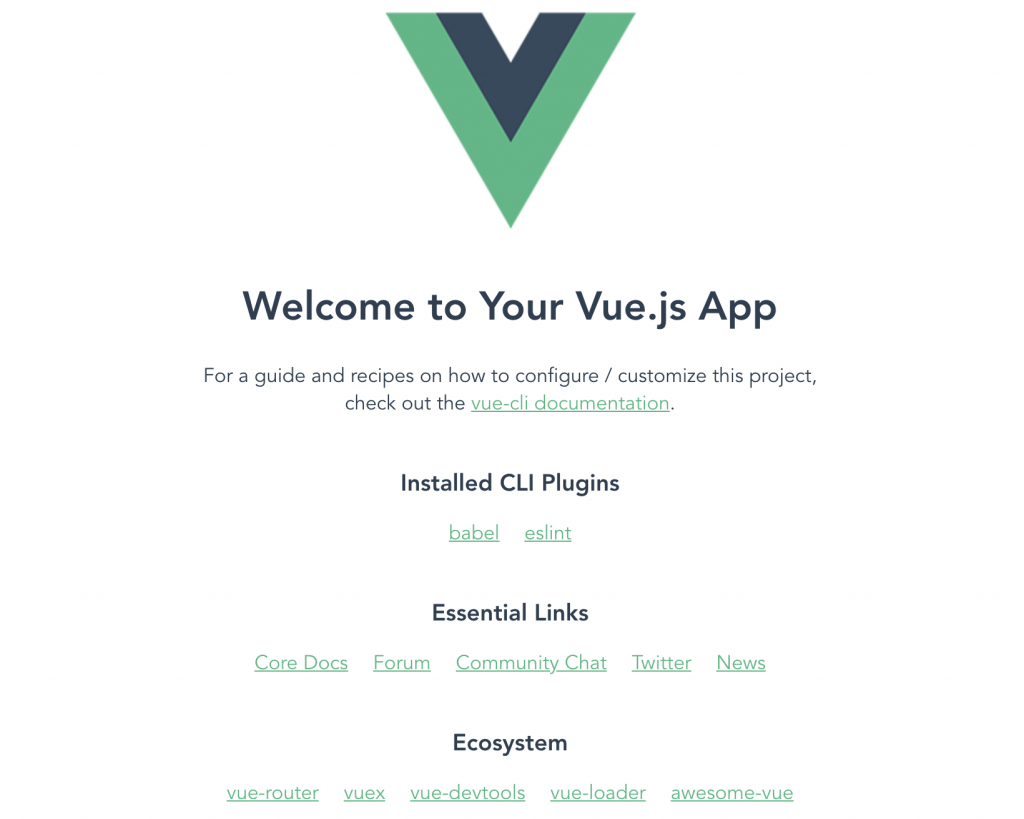
위와 같이 페이지가 정상적으로 출력되면 frontend 쪽은 준비가 되었다.
Backend 작업디렉토리 생성 및 backend 서버 실행
이번엔 앞서 생성했던 example디렉토리에서 express를 이용해서 backend 서버 프로젝트를 생성한다.
$ npm install -g express-generator
$ express --view=pug backend
$ cd backend
$ npm install
$ npm start
위와 같이 서버 실행 후 http://localhost:3000으로 접속하면 다음과 같이 epxress 서버가 정상 실행된 것을 확인할 수 있다.

Frontend와 Backend 연동하기
여기까지 생성된 프로젝트 디렉토리를 보면 다음과 같다.
.
├── backend
│   ├── bin
│   ├── node_modules
│   ├── public
│   ├── routes
│   └── views
└── frontend
    ├── node_modules
    ├── public
    └── src
이제 앞서 생성했던 frontend가 express에 연동되어 보여질 수 있도록 해보자. 실행했던 express 서버는 종료시키고 frontend 디렉토리에서 vue.config.js 파일을 생성해준다.
module.exports = {
  devServer: {
    proxy: {
      '/api': {
        target: 'http://localhost:3000/api',
        changeOrigin: true,
        pathRewrite: {
          '^/api': ''
        }
      }
    }
  },
  outputDir: '../backend/public',
}
위와 같이 /api 요청이 있을 때 해당 요청을 backend 쪽의 /api로 돌려주는 proxy 설정을 추가해준다. 그리고 frontend 프로젝트를 build했을 때 output이 ../backend/public에 위치하도록 한다.
위와 같이 파일 생성이 완료되었다면 frontend 디렉토리에서 다음명령을 실행하자.
$ npm run build
위 명령을 실행하면 backend/public 디렉토리에 frontend 프로젝트로 부터 빌드된 결과 파일들이 위치하는 것을 확인할 수 있다. backend 디렉토리에서 express 서버를 다시 실행해보자.
$ npm start
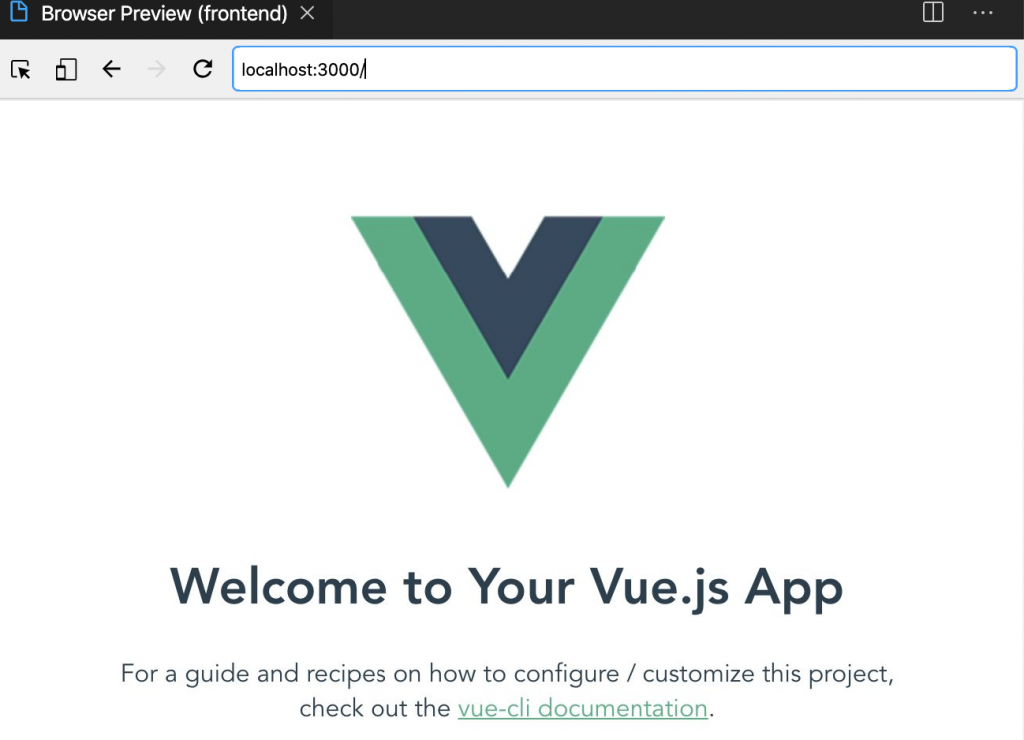
express 서버 실행 후 다시 http://localhost:3000으로 접속하면 아래와 같이 앞서 만든 frontend 페이지가 그대로 보이는 것을 확인 할 수 있다.
Backend 데이터를 Frontend에 뿌려보기
이제 본격적으로 Backend에서 관리하는 데이터를 Frontend에 뿌려보자. 먼저, backend 디렉토리에 movies.json이라는 파일을 생성한다.
[
  {
    "id": 1,
    "name": "기생충",
    "rate": "54.80%",
    "director": "봉준호",
    "actors": "송강호(기택), 이선균(박사장), 조여정(연교) 등",
    "time": "131분",
    "synopsis": "<strong>폐 끼치고 싶진 않았어요</strong><br>전원백수로 살 길 막막하지만 사이는 좋은 기택(송강호) 가족. <br>장남 기우(최우식)에게 명문대생 친구가 연결시켜 준 고액 과외 자리는 <br>모처럼 싹튼 고정수입의 희망이다. <br>온 가족의 도움과 기대 속에 박사장(이선균) 집으로 향하는 기우. <br>글로벌 IT기업 CEO인 박사장의 저택에 도착하자 <br>젊고 아름다운 사모님 연교(조여정)가 기우를 맞이한다.",
    "poster": "https://movie-phinf.pstatic.net/20190528_36/1559024198386YVTEw_JPEG/movie_image.jpg?type=f125"
  },
  {
    "id": 2,
    "name": "알라딘",
    "rate": "21.10%",
    "director": "가이 리치",
    "actors": "메나 마수드(알라딘), 윌 스미스(지니), 나오미 스콧(자스민) 등",
    "time": "128분",
    "synopsis": "머나먼 사막 속 신비의 아그라바 왕국의 시대. <br>좀도둑 ‘알라딘’은 마법사 ‘자파’의 의뢰로 마법 램프를 찾아 나섰다가 <br>주인에게 세 가지 소원을 들어주는 지니를 만나게 되고, <br>자스민 공주의 마음을 얻으려다 생각도 못했던 모험에 휘말리게 되는데…",
    "poster": "https://movie-phinf.pstatic.net/20190524_104/1558663170174Q2mmw_JPEG/movie_image.jpg?type=f125"
  }
]
json으로 생성된 데이터를 보낼 수 있는 라우터를 설정한다. backend/routes/ 디렉토리에 movies.js를 생성한다. 내용은 다음과 같다.
var express = require('express');
var router = express.Router();
var movies = require('../movies.json');

router.get('/', function (req, res, next) {
 res.send(movies)
});

router.get('/:id', function (req, res, next) {
 var id = parseInt(req.params.id, 10)
 var movie = movies.filter(function (movie) {
 return movie.id === id
 });
 res.send(movie)
});
module.exports = router;
새로 생성한 router를 backend/app.js에 등록해준다. 다음 내용을 파일에 추가해주면 된다.
var moviesRouter = require('./routes/movies');
app.use('/api/movies', moviesRouter);
Backend 쪽에서 데이터를 연동할 준비는 마쳤다. 이제 Frontend 쪽에서 Backend로 데이터를 요청하고 요청한 데이터를 뿌려주는 작업만 남았다.
Frontend에서 Backend로 데이터를 요청하고 요청한 데이터 출력하기
frontend 디렉토리에서 추가로 필요한 패키지를 설치해준다.
$ npm install vue-router --save
$ npm install axios --save
frontend/src/component 디렉토리에 MovieIndexPage.vue 파일을 생성하고 다음과 같이 입력한다.
<template>
  <div class="wrap">
    <h1>5월 마지막주 영화 예매 순위</h1>
    <ul class="movies">
      <li v-for="movie in movies" class="item" :key="movie.id">
        <span class="rank">{{movie.id}}</span>
        <router-link :to="{ name: 'show', params: { id: movie.id }}">
          <img v-bind:src="movie.poster" class="poster">
        </router-link>
        <div class="detail">
          <strong class="tit">{{movie.name}}</strong><br>
          <span class="rate">예매율 <span class="num">{{movie.rate}}</span></span><br>
          <router-link :to="{ name: 'show', params: { id: movie.id }}" class="link">자세히보기</router-link>
        </div>
      </li>
    </ul>
  </div>
</template>

<script>
export default {
  created () {
    this.$http.get('/api/movies')
        .then((response) => {
          this.movies = response.data
        })
  },
  data () {
    return {
      movies: []
    }
  }
}
</script>

<style scoped>
h1, h2 {
  font-weight: normal;
}
ul {
  list-style-type: none;
  padding: 0;
}
li {
  display: inline-block;
  margin: 0 10px;
}
a {
  color: #42b983;
}
</style>
그리고 상세 페이지를 보여줄 MovieShowPage.vue를 생성한다.
<template>
  <div class="detail">
    <h1>{{movie.name}}</h1>
    <img v-bind:src="movie.poster" class="poster">
    <section>
      <h2>영화정보</h2>
      <dl class="info">
        <dt>감독</dt>
        <dd>{{movie.director}}</dd>
        <dt>출연</dt>
        <dd>{{movie.actors}}</dd>
        <dt>러닝타임</dt>
        <dd>{{movie.time}}</dd>
      </dl>
    </section>
    <section>
      <h2>줄거리</h2>
      <p v-html="movie.synopsis" class="synopsis"></p>
    </section>
    <router-link :to="{ name: 'index', params: { id: movie.id }}" class="link">돌아가기</router-link>
  </div>
</template>
<script>
export default {
  created: function () {
    var id = this.$route.params.id;
    this.$http.get('/api/movies/' + id)
        .then((response) => {
          this.movie = response.data[0]
        })
  },
  data: function () {
    return {
      movie: {}
    }
  }
}
</script>
다음으로는 앞서 만들었던 vue 파일들을 노출시켜주기 위한 router 설정을 위한 파일을 생성한다. frontend/src/routes/index.js를 생성해주자.
import Vue from 'vue'
import Router from 'vue-router'
import Index from '@/components/MovieIndexPage'
import Show from '@/components/MovieShowPage'

Vue.use(Router)

export const router = new Router({
    mode: 'history',
    routes: [{
            path: '/',
            name: 'index',
            component: Index
        },
        {
            path: '/:id',
            name: 'show',
            component: Show
        }
    ]
})
위와 같이 router를 생성하고 frontend/src/App.vue에서 <router-view> 컴포넌트를 추가하여 메인페이지에서 router로 연결된 페이지가 출력될 수 있도록 하자. App.vue를 다음과 같이 수정한다.
<template>
  <div id="app">
    <router-view></router-view>
  </div>
</template>
이제 frontend/src/main.js를 다음과 같이 작성하여 앞서 만들었던 router가 정상적으로 연결되도록 한다.
import Vue from 'vue'
import App from './App.vue'
import {router}  from './routes/index.js'
import axios from 'axios'

Vue.config.productionTip = false
Vue.prototype.$http = axios;

new Vue({
  render: h => h(App),
  router,
}).$mount('#app')
여기까지 작업을 하고 frontend 디렉토리에서 npm run serve 명령을 이용해서 다시 http://localhost:8080에 접속하면 아래와 같은 내용을 확인할 수 있다.
기본 페이지

상세 페이지

Frontend는 정상동작되는 걸 확인했다. 이제 작업했던 내용을 다시 build해서 backend서버에서도 새로운 Frontend 페이지가 노출 될 수 있도록 frontend 디렉토리에서 다음 명령을 실행한다.
$ npm run build
이후 backend 디렉토리에서 npm start 명령으로 서버를 다시 실행하고 http://localhost:3000으로 접속하면 앞서와 같은 페이지를 확인하는 것이 가능하다.
작업했던 소스는 다음 github 링크에서도 참고할 수 있다.
https://github.com/warnus/vue_express_example