strapi는?
strapi는 headless cms이다. wordpress, 티스토리와 같은 template이 포함된 기존 CMS와 달리 view 부분이 빠져 있고 CMS 핵심 기능인 콘텐츠 생성/저장/관리에 집중된 시스템이다.
Quick Start
yarn create strapi-app my-project --quickstart
실행 결과
$ yarn create strapi-app my-project --quickstart
yarn create v1.22.4
[1/4] ?  Resolving packages...
[2/4] ?  Fetching packages...
[3/4] ?  Linking dependencies...
[4/4] ?  Building fresh packages...
success Installed "create-strapi-app@3.0.1" with binaries:
      - create-strapi-app
Creating a new Strapi application at /Users/victor/010_dev/strapi/my-project.

Creating a quickstart project.
Creating files.
Dependencies installed successfully.

Your application was created at /Users/victor/010_dev/strapi/my-project.

Available commands in your project:

  yarn develop
  Start Strapi in watch mode.

  yarn start
  Start Strapi without watch mode.

  yarn build
  Build Strapi admin panel.

  yarn strapi
  Display all available commands.

You can start by doing:

  cd /Users/victor/010_dev/strapi/my-project
  yarn develop


> my-project@0.1.0 build /Users/victor/010_dev/strapi/my-project
> strapi build "--no-optimization"

Building your admin UI with development configuration ...

✔ Webpack
  Compiled successfully in 32.49s

Running your Strapi application.

> my-project@0.1.0 develop /Users/victor/010_dev/strapi/my-project
> strapi develop


 Project information

┌────────────────────┬──────────────────────────────────────────────────┐
│ Time               │ Wed Jun 03 2020 16:25:49 GMT+0900 (GMT+09:00)    │
│ Launched in        │ 5449 ms                                          │
│ Environment        │ development                                      │
│ Process PID        │ 65150                                            │
│ Version            │ 3.0.1 (node v12.7.0)                             │
└────────────────────┴──────────────────────────────────────────────────┘

 Actions available

One more thing...
Create your first administrator ? by going to the administration panel at:

┌─────────────────────────────┐
│ http://localhost:1337/admin │
└─────────────────────────────┘
strapi 웹페이지 접속
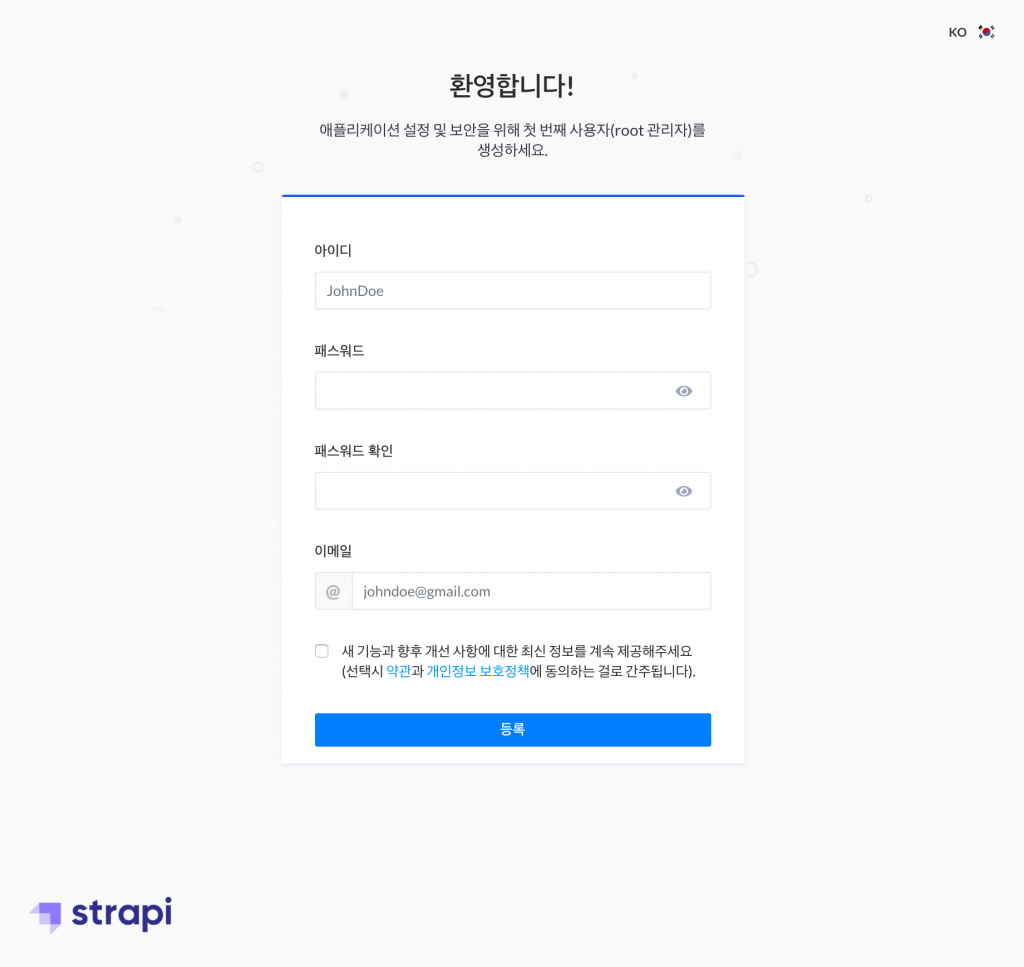
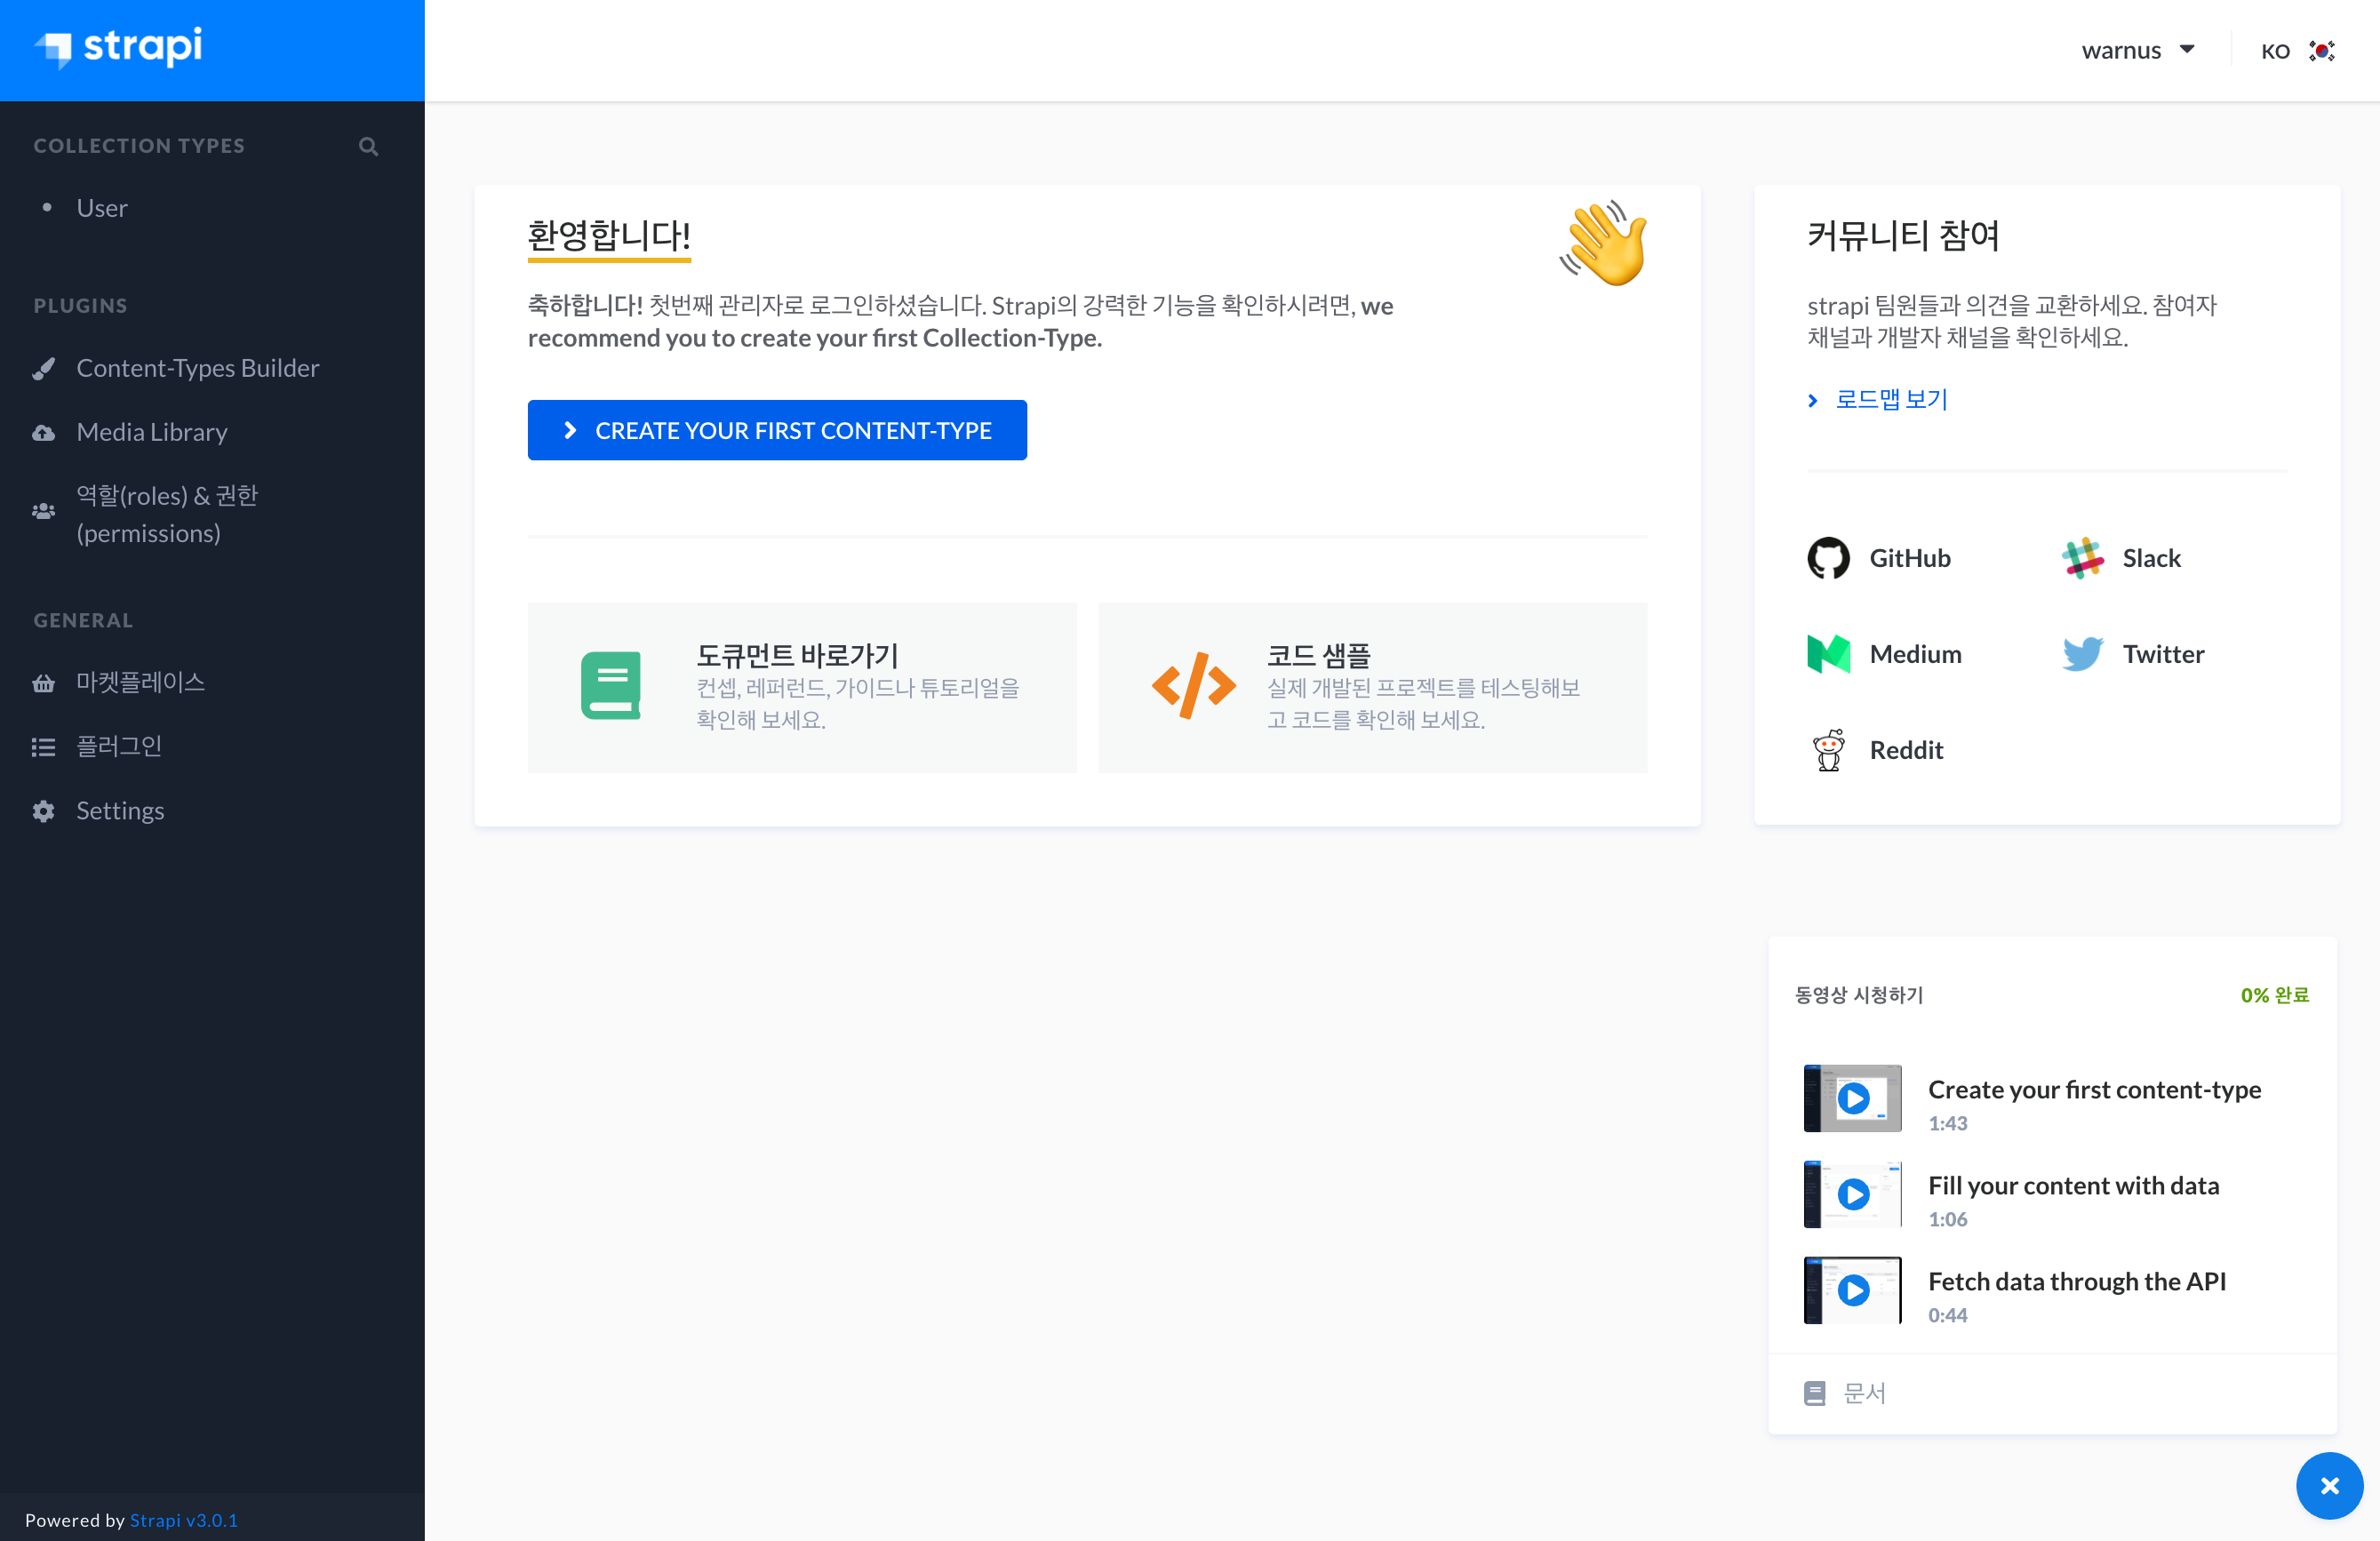
메인페이지
Content Type 만들어보기
왼쪽 메뉴에서 다음으로 이동한다.
Content-Type Builder → Create new collection typeDisplay Name : corpus
corpus라는 이름의 collection type을 새로 생성한다.

다음으로 텍스트 필드를 생성해준다. 아래와 같이 만든다.
Name : korean
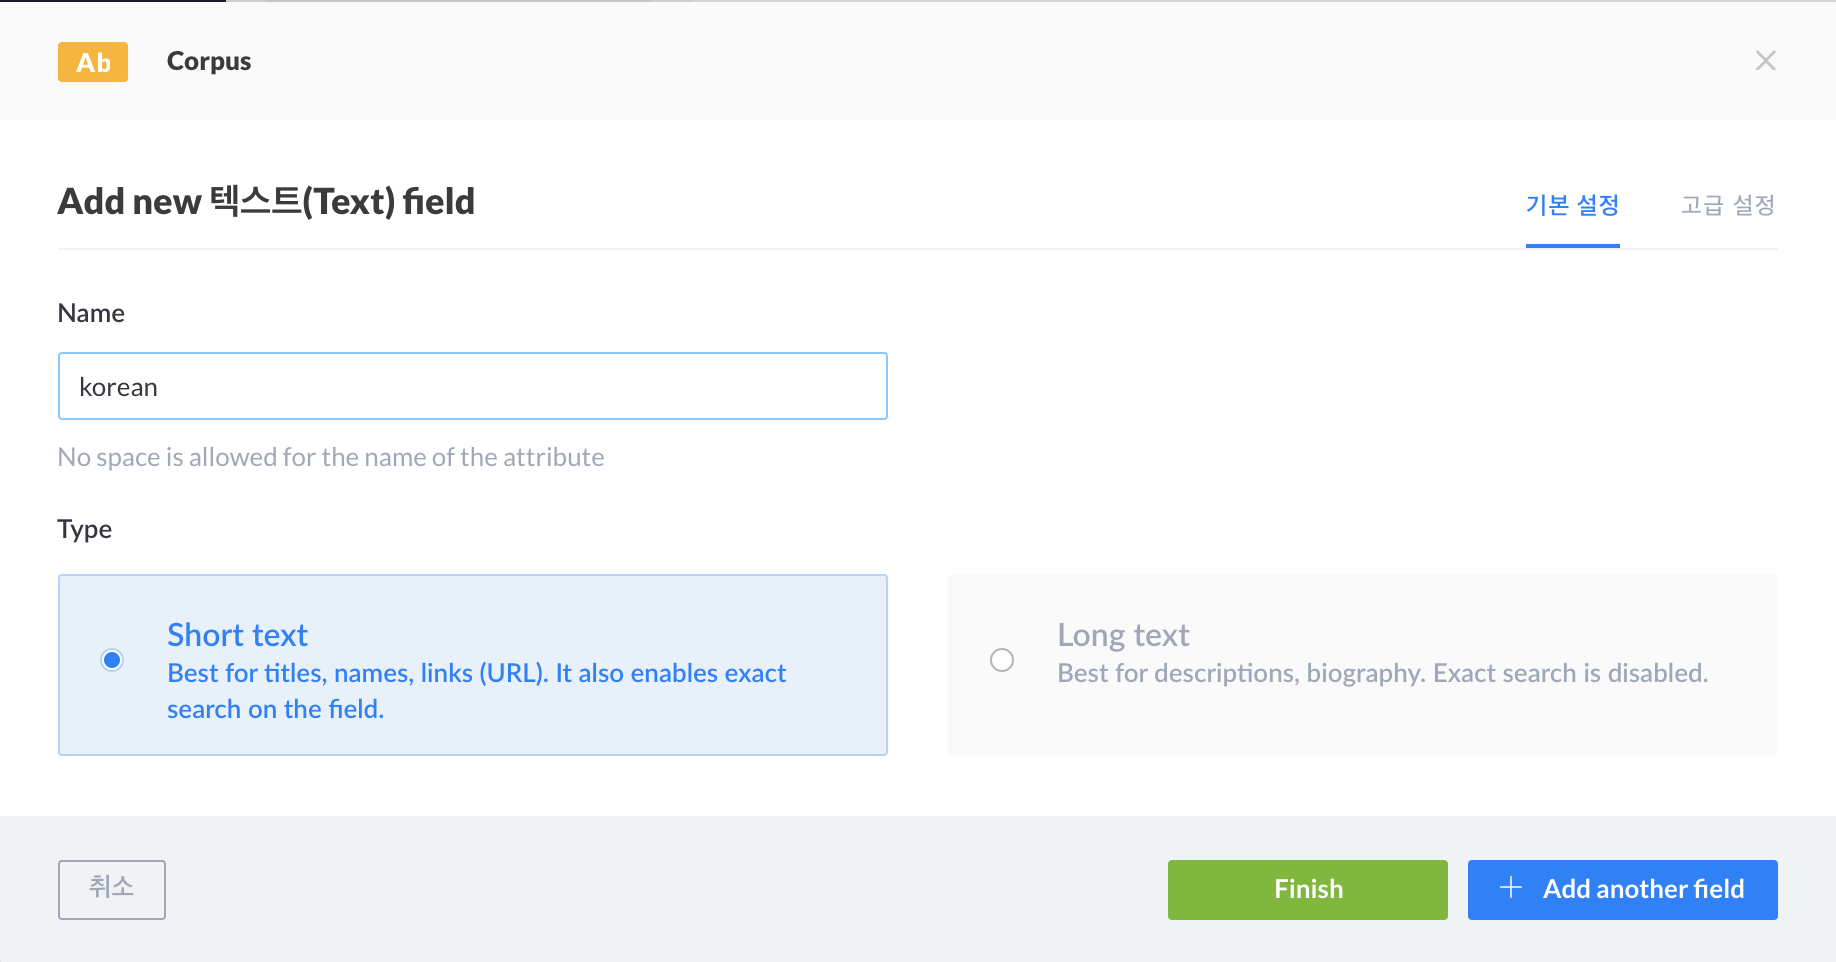
고급 설정에서 ‘필수 항목’을 체크해준다.

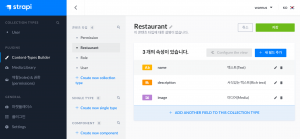
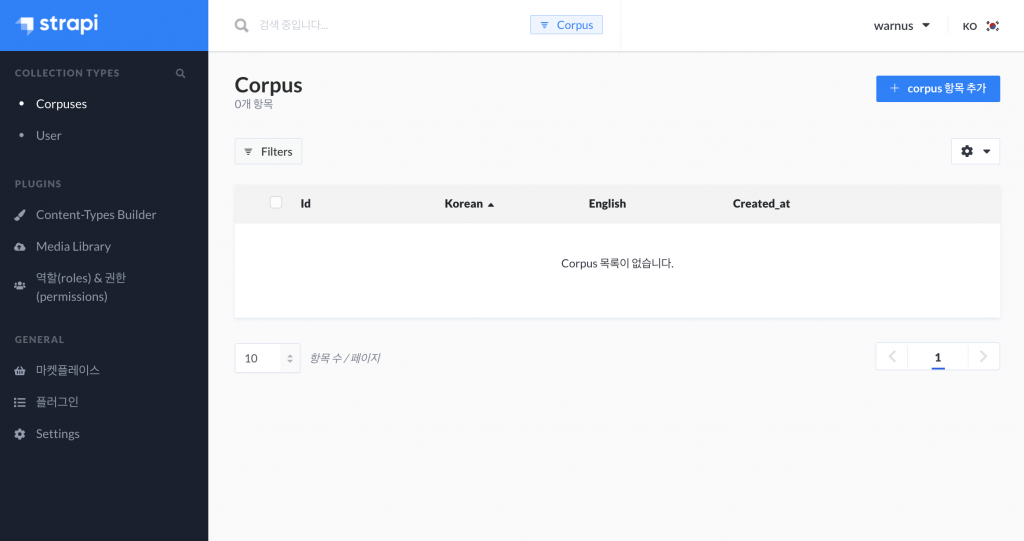
Add another field를 클릭해주어 마찬가지로 english 라는 필드를 생성한다. 생성을 완료하고 ‘저장’을 누르면 아래와 같이 Collection Type에 Corpus라는 항목이 신규로 추가되었고 해당 메뉴를 클릭하면 필드들이 보인다.
데이터 삽입
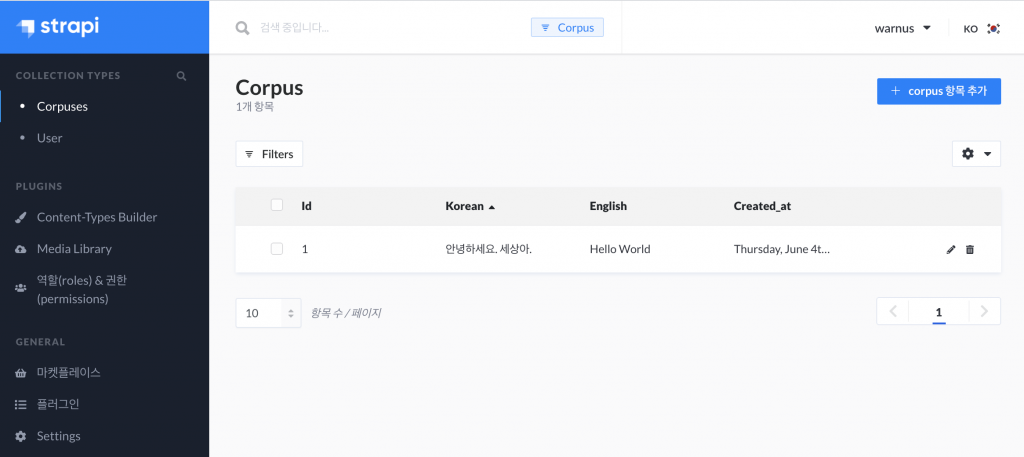
필드에 실제 데이터를 입력해보자. ‘corpus 항목 추가’ 버튼을 누르고 다음과 같이 데이터를 입력하고 ‘저장’을 클릭한다.

다음과 같이 데이터가 정상적으로 저장 되었다.
Public API
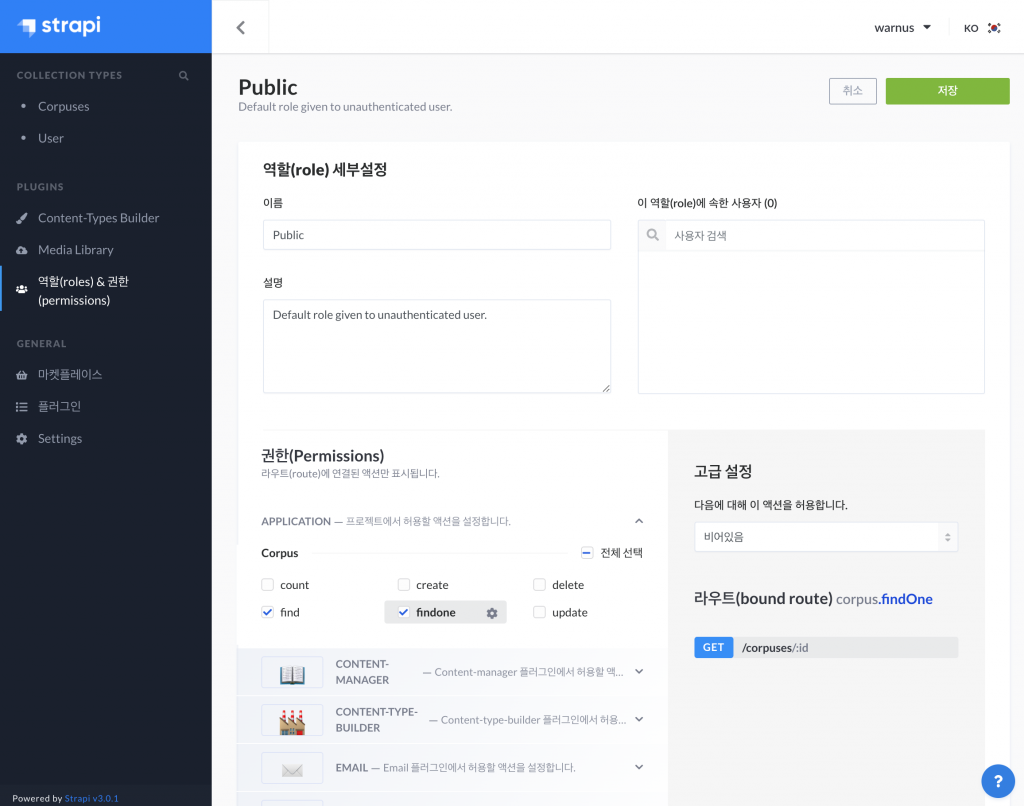
이제 만들어진 데이터를 Public API로 접근 가능하도록 설정한다. 왼쪽 메뉴에 ‘Roles & Permissions’ 메뉴를 클릭한다. 그리고 public 항목을 클릭하면 아래와 같이 collection type이 보이고 권한 설정 부분이 나온다. ‘find’ 설정을 체크해주고 ‘저장’한다.
이제 http://localhost:1337/corpuses 에 접속하면 다음과 같은 json 포멧 데이터를 얻을 수 있다.
[
    {
        "id":1,"korean":"안녕하세요. 세상아.",
        "english":"Hello World",
        "created_at":"2020-06-04T03:34:23.418Z",
        "updated_at":"2020-06-04T03:34:23.418Z"
    }
]
참고
- https://strapi.io/documentation/3.0.0-beta.x/getting-started/quick-start-tutorial.html#_1-install-strapi-and-create-a-project
- 코딩 없이 10분 만에 REST API/Graphql 서버 개발하기
- 무작정 앱만들기-2(Strapi로 API&DB 만들기)